PostgreSQL Installation: A Step-by-Step Guide 2023
January 6, 2023

PostgreSQL is a powerful, open-source object-relational database system that is widely used for web, mobile, geospatial, and analytics applications. In this tutorial, we will show you how to install PostgreSQL on Ubuntu, a popular Linux distribution.
PostgreSQL Docs: https://www.postgresql.org/docs/current/
Prerequisites
Before you begin, you should have a clean installation of Ubuntu and a user account with sudo privileges.
PostgreSQL Docs: https://www.postgresql.org/docs/
Update the Package Manager Index
First, update the package manager index to ensure that you have access to the latest version of PostgreSQL:
sudo apt update
Install the PostgreSQL Server Package
There are two option to install PostgreSQL server, One is using Ubuntu Repository and second is from the PostgreSQL Official Repository.
Method 1: Using Ubuntu Repository
Install the PostgreSQL server package and the postgresql-contrib package, which includes additional utilities and libraries:
sudo apt install postgresql postgresql-contrib
This will install PostgreSQL and create a new system user postgres.
Method 2: Using PostgreSQL Official Repository
# Create the file repository configuration:
sudo sh -c 'echo "deb http://apt.postgresql.org/pub/repos/apt $(lsb_release -cs)-pgdg main" > /etc/apt/sources.list.d/pgdg.list'

# Import the repository signing key:
wget --quiet -O - https://www.postgresql.org/media/keys/ACCC4CF8.asc | sudo apt-key add -

# Update the package lists:
sudo apt-get update

# Install the latest version of PostgreSQL.
sudo apt-get -y install postgresql

# If you want a specific version, use 'postgresql-12' or similar instead of 'postgresql':
sudo apt-get -y install postgresql-12
Also Read: How to create eks cluster using aws cli
Starting and Verifying the PostgreSQL Service
Once the installation completes, run the below systemctl command to start the PostgreSQL service.
sudo systemctl start postgresql.service
sudo systemctl status postgresql.service
Connecting to the PostgreSQL server
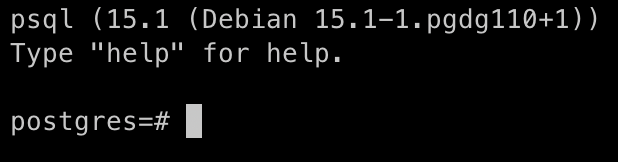
By default, PostgreSQL creates a user postgres with the role postgres. To connect to the database, run the following command:
sudo -u postgres psql
Creating and Deleting a PostgreSQL Database
After log in to the database you can perform database actions. To create database, run the following command:
Create Database
create database something_cool;

List Database
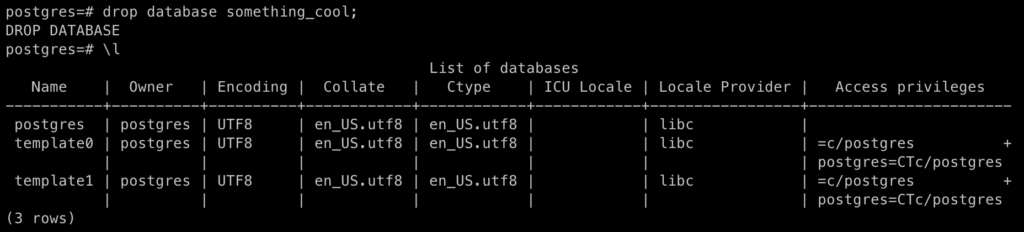
To list databases present in PostgreSQL server, run the following command:
\l

Delete Database
To delete database in PostgreSQL server, run the following command:
drop database something_cool;
Conclusion
In this tutorial, we learned how to install PostgreSQL on Ubuntu and create and delete a database. You can now use PostgreSQL to store and manage your data. If you have any questions or comments, please let me know in the comments section below.