SSL (Secure Sockets Layer) is a protocol that enables secure communication over the internet. It is commonly used to secure websites and protect sensitive information, such as login credentials and credit card numbers, from being intercepted by attackers. In this article, we learn how to obtain a free SSL certificate from Let’s Encrypt for Apache web server on Ubuntu 20.04.
Overview:
- Install Apache2
- Install Certbot
- Generate SSL Certificate
- Test SSL
- Configure Automatic Renewal
Steps:
1. Install Apache2
As usual, we’ll start by updating the system. To update run the below commands.
sudo apt-get update
To install Apache2 run below command
sudo apt-get install apache2 -y
To check Apache status
sudo systemctl status apache2
if it’s not active start Apache by running the below command.
sudo systemctl start apache2
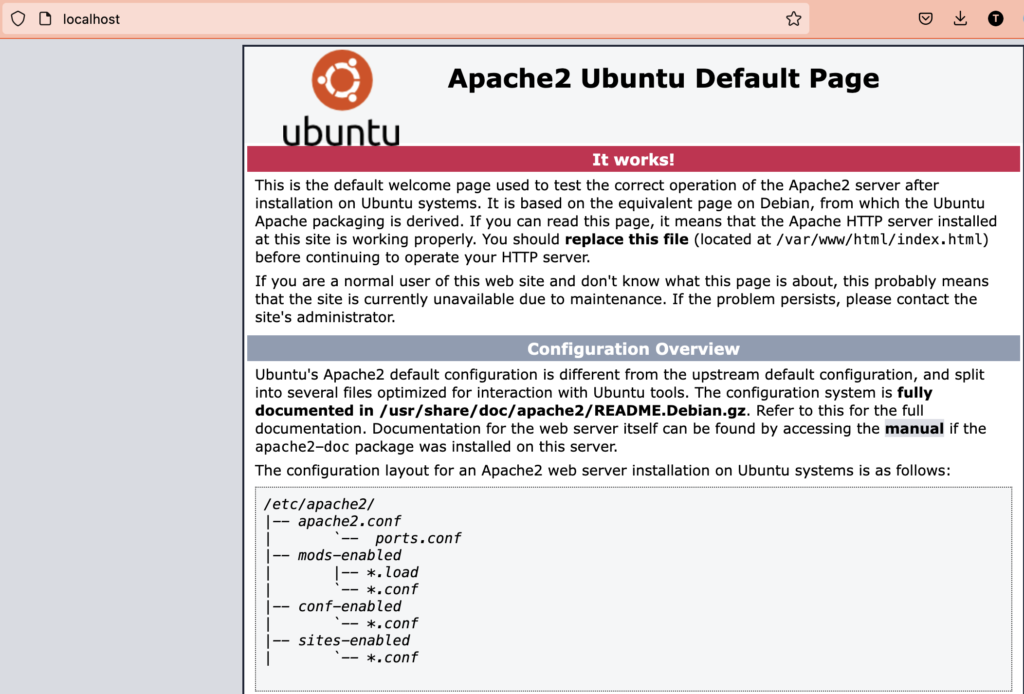
Now, open your browser and enter the IP to access the default web page http://<your_ip>. For localhost, simply type localhost in the browser. http://localhost
Sample output:

2. Install Certbot
The certbot package is a tool for obtaining SSL certificates from Let’s Encrypt. You can install it with the following command:
sudo apt-get install certbot python3-certbot-apache -y
3. Generate SSL Certificate
To obtain an SSL certificate, run the certbot command with the --apache flag to specify that you want to use the Apache plugin, and the -d flag to specify the domain name for which you want to get the SSL certificate. For example, to get a certificate for the domain example.com, you can run the following command:
sudo certbot --apache -d example.com
Follow the prompts to complete the certificate issuance process. This will involve providing your email address, agreeing to the terms of service and it will also ask to redirect HTTP to HTTPS. If you want to redirect, select the option accordingly.
4. Test SSL
Once the certificate is issued, certbot will automatically update your Apache configuration to use the new certificate. You can verify that the certificate is in use by visiting your website using https in the address bar of your web browser.
You can also use online tools to check your certificate status for example SSL Server Test(ssllabs), SSL Checker(sslshopper) and SSL Certificate Checker(digicert), etc.
5. Configure Automatic Renewal
Let’s Encrypt SSL certificates are only valid for 90 days, so it is important to set up a process to automatically renew them before they expire. You can do this by adding a certbot renewal script to your system’s crontab.
First, create a renewal script by running the following command:
sudo vi /etc/cron.weekly/certbot-renew
Paste the following content into the script:
#!/bin/bash
certbot renew --quiet
systemctl reload apache2
Save the script and exit the editor. Then, make the script executable by running the following command:
sudo chmod +x /etc/cron.weekly/certbot-renew
This will configure certbot to automatically check for certificate expiration every week and renew any that are due to expire. The systemctl reload apache2 command will ensure that Apache reloads the new certificate after it is renewed.
To test renewal process is working correctly, you can run:
sudo certbot renew --dry-run
Congratulations! You have successfully obtained and configured a free SSL certificate from Let’s Encrypt for your Apache web server on Ubuntu 20.04, with automatic renewal to ensure that your certificate remains valid. This will ensure that communication between your website and its visitors is secure and protected from attackers.